Warehouse setup
Getting Started
For Existing Users
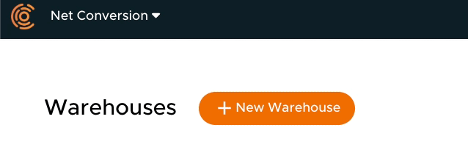
1) Navigate to the Warehouse page from the top right of the Conversionomics platform
 2) Click the orange New Warehouse button
For New Users
1) Create an account by scrolling to the bottom of the page and clicking “Get Started”
2) Fill out the form and hit “Create Account” OR sign in with Google
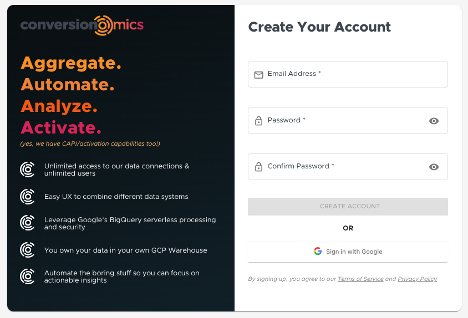
- If you signed in with an email, you will need to verify your email before continuing and log in again.
The Google account needs to have at least the following IAM roles. Each role contains a set of permissions that allows you to perform specific actions on Google Cloud resources:
- Service usage admin
- Storage admin
- Firebase admin
- Project IAM Admin
- Service Account admin
- Service Account Key Admin
- BigQuery User
- App engine viewer
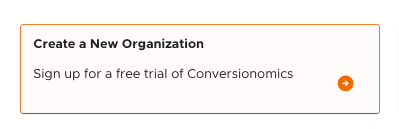
3) Select “Create a New Organization” and name it
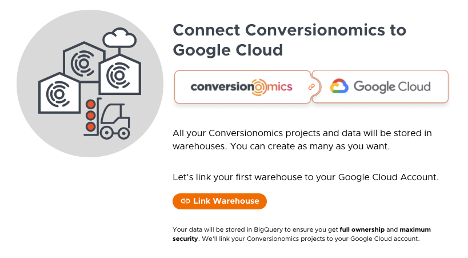
 4) Click “Link Warehouse”
Magic Setup
1) Sign In with your Google account
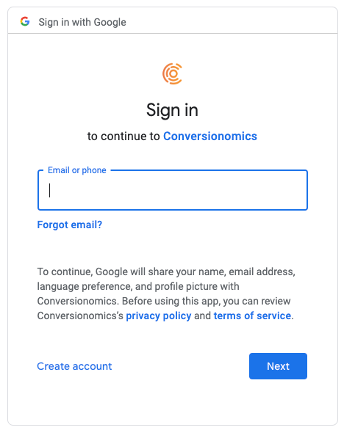
2) Click the “Allow” button

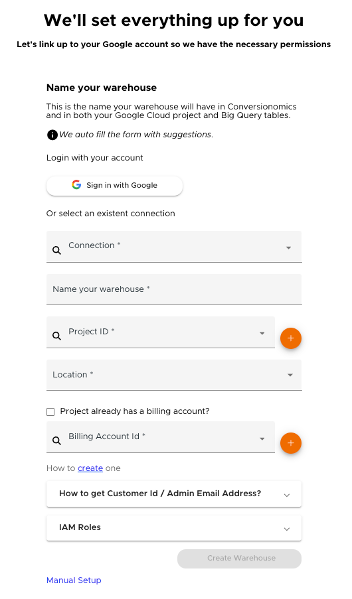
3) Fill out the form

a) You should have gotten a confirmation that a connection was created. Select your new connection from the dropdown in the Connection form
b) Name your warehouse:

c)
Create a new GCP (Google Cloud Platform) Project by clicking the plus (+) icon and entering a name. Existing users can use the dropdown to find existing projects

d)
Choose the GCP project location from the dropdown. Ideally, this would be the closest location to you.


e) Choose the billing account that will be associated with the GCP project. If the GCP project is already associated with a billing account, please check the checkbox. 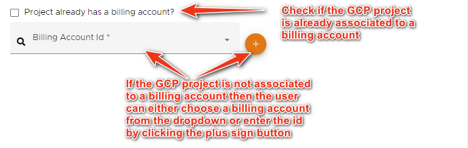
f) Option configuration. There is an optional step in case the admin user wants to enable the user/group feature.
4) Click the "Create Warehouse" button when you’re ready to proceed
Manual Setup
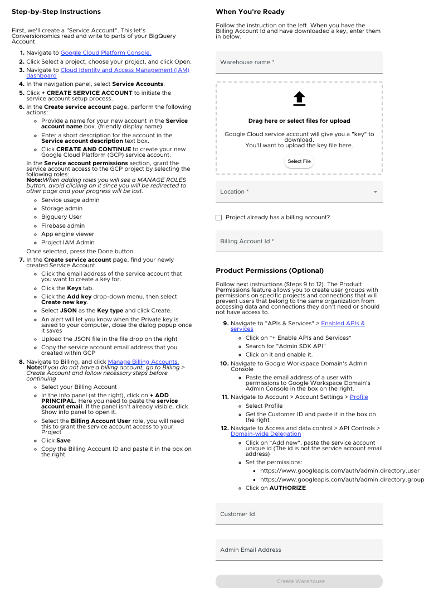
1) Navigate to Google Cloud Platform Console.
2)
Click “Select a project” in the upper left corner, choose your project, and click Open.

3) With the project selected,
navigate to Cloud Identity and Access Management (IAM) dashboard. If you do not have access, please contact your admin.

4) In the navigation panel, select Service Accounts.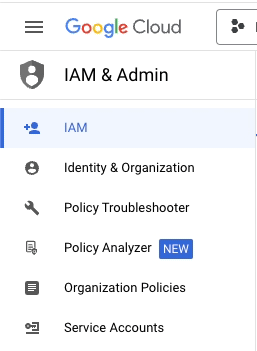
5)
Click + CREATE SERVICE ACCOUNT to initiate the service account setup process.

6) In the Create service account page, perform the following actions:
a. Provide a name for your new account in the Service account name box. (friendly display name)
b. Enter a short description for the account in the Service account description text box.
c. Click CREATE AND CONTINUE to create your new Google Cloud Platform (GCP) service account.

d. In the Service account permissions section, grant the service account access to the GCP project by selecting the following roles:
Note: When adding roles you will see a MANAGE ROLES button, avoid clicking on it since you will be redirected to another page and your progress will be lost.
- Service usage admin
- Project IAM Admin
- App engine viewer
- Firebase admin
- Storage admin
- BigQuery User
e.Once selected, press the Done button.
7) On the Service Account page, find your newly created Service Account.
8) Click the email address of the service account that you want to create a key for.
9) Click the Keys tab.
10) Click the Add key drop-down menu, then select Create new key.
11) Select JSON as the Key type and click Create.

12) An alert will let you know when the Private key is saved to your computer,
close the dialog popup once it saves

13) Return to Conversionomics.
Upload the JSON file in the file drop on the right

14) Copy the service account email address that you created within GCP
15)
Navigate to Billing by clicking on the hamburger menu in the top left corner. You can also search for “Billing” in the search bar.

a.
Click Manage Billing Accounts. Note: If you do not have a billing account, go to
Billing > Link A Billing Account > Create Account and follow the necessary steps before continuing

b. In the Info panel (at the right),
click on + ADD PRINCIPAL. Here you need to paste the service account email. If the panel isn't already visible, click Show info panel to open it.


c.
Select the "Billing Account User" role, you will need this to grant the service account access to your Project

d. Click Save

e. Copy the Billing Account ID and paste it into the box on the right

 2) Click the orange New Warehouse button


 4) Click “Link Warehouse”


